Dev Log

Dev Log #10

This dev log will be a review/kind of post mortem for my typing game assignment.

Capture.PNG

Overall, the project went well and I'm happy with the final outcome. The game runs smoothly, yet there are a few problems I have with it that are quite minor yet are still a annoyance.

First, I wish I had used more events in the game. When I first started on the project, I didn't really use that many events. Only really for the letter inputs and that was it. I only started to use more events and add them to existing systems around a week before it was due. In total there are around 4 events that are used throughout the game. I think there would have been more if I made the base of the game revolve around them.

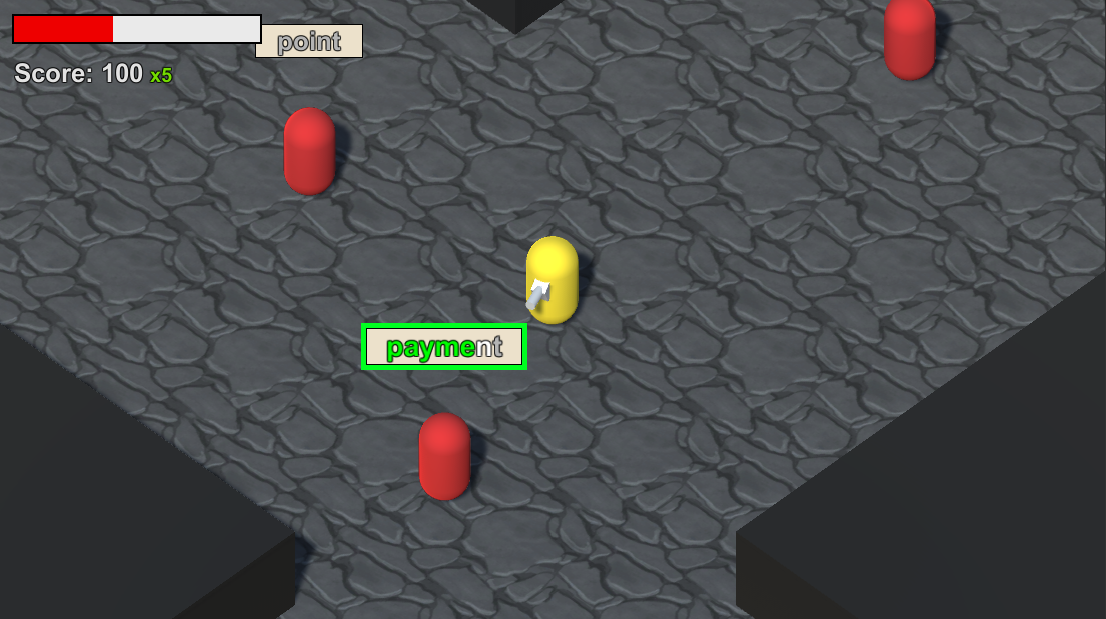
Another problem is one that is code side, yet I cannot find a solution to it. Each area has a certain amount of enemies that need to be killed in order for the player to move onto the next area. For some reason, sometimes when all the enemies of an area have been killed, the kill count is 1 or 2 less than it needs to be and the player wont move. This is probably not a bug and more sloppy code, but looking over it I cannot find a solution. Every time an enemy dies it adds one to the currentEnemiesKilled variable and every frame the game checks that to see if all the enemies have been killed. This is one of those problems that if it does occur, it messes up the whole game and requires either a restart or a manual setting of that variable to trigger the player movement onto the next area.

This of course could have been avoided if I planned the system ahead of time. Because what I do most of the time is just jump into coding and make it up as I go. In this case though, planning how the system would word would have been a big help.

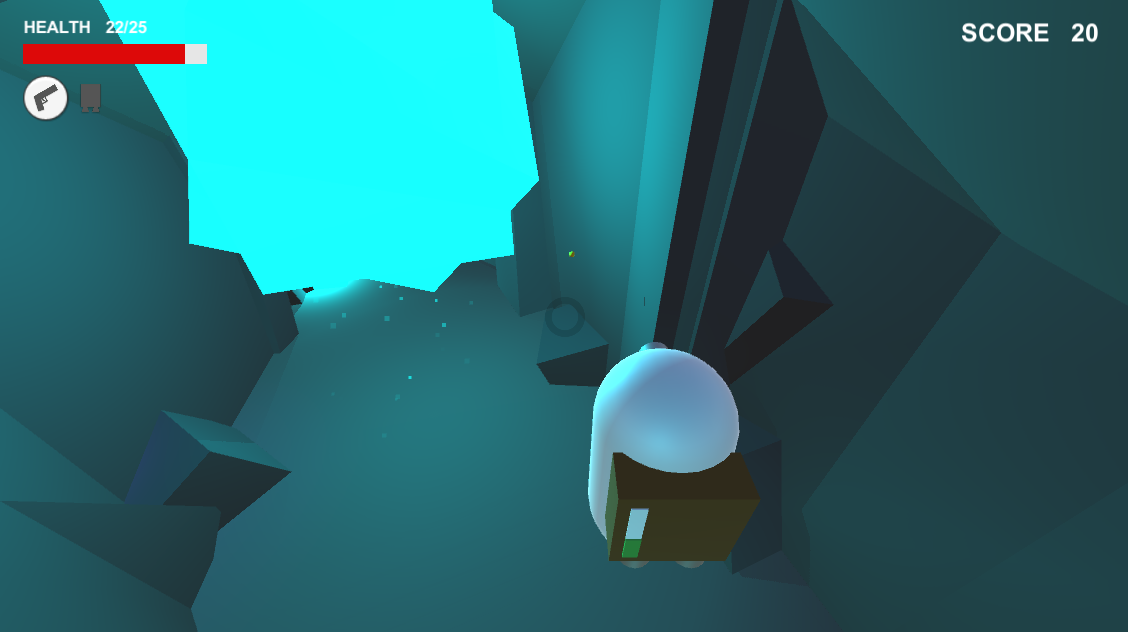
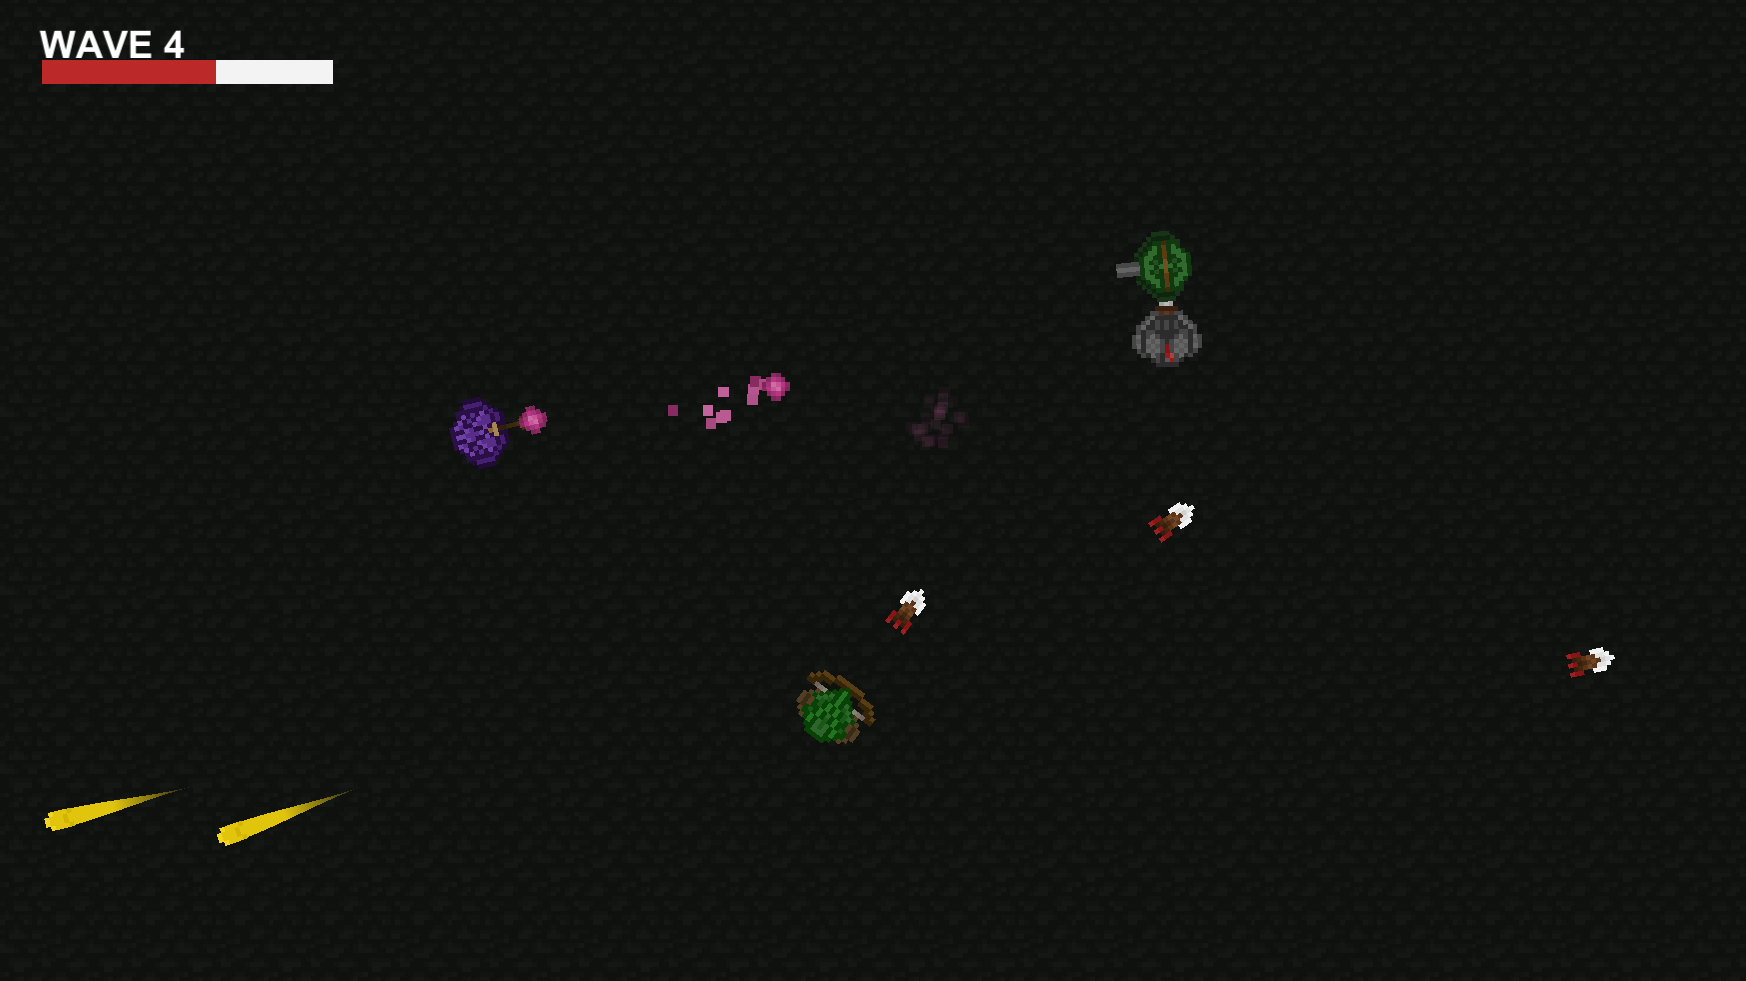
One thing that I haven't done before that I did do for this project, is pooling particle effects. Since every time an enemy gets hit and killed there's a particle effect, pooling them would make the game run faster and overall be more efficient.

The way it works, is that at the start of the game, it instantiates a set number of game objects for each particle effect. Let's say 10 for example. These 10 of each particle effect then go in lists and can be called upon when needed. So when an enemy gets hit, it looks for a disabled hit particle effect, sets its position and disables it after a certain amount of time. Doing this type of system is good practice for when I perhaps go onto making a larger game and instantiating every time something needs to be done would be too laggy.


Dev Log #9

The typing game is coming along nicely. 

The above image shows the boss battle which happens after the player goes through the 4 areas. It has its own health bar, music and death animation. The words are also harder than all the others in the game to make it a challenge for the player.

The way he works, is that once the last enemy of area 4 gets killed, a BeginBossBattle event gets called. The boss begins to move towards the player at a slow pace. If the boss reaches the player before getting killed then it instantly kills the player.

One of my favourite systems in the game is the scoring system. Every enemy killed by the player grants them an additional 10 to their score. Also every enemy kill increases the player's multiplier which affects the enemy kill score. Although if the player presses the wrong letter on a word, their multiplier goes back down to 1. There is a max of 10 on the multiplier.

At the end of the game, if the player wins or loses they are presented the game over screen which shows them their score and stats. The final score is affected by their game score, words per minute, health and if they killed the boss or not.

goScore.text = "Score: +" + Game.game.score + "\nWPM: " + Game.game.CalculateWPM() + " +" + (Game.game.CalculateWPM() * 10) + 
            "\nHealth: " + Player.player.health + " +" + (Player.player.health * 10) + ((Player.player.health > 0)?("\nKilled Boss: +1500") :(""))
            + "\n\n<b>Final Score: " + Game.game.CalculateFinalScore() + "</b>";

Displaying this text requires quite a long line of code as seen above.

Capture.PNG

Another thing that I implemented was a muzzle flash. Every time the player enters a letter correctly, the muzzle flash enables then disables quickly, to simulate shooting. Like on the previous assignment, I used Emission on the material to make the flash look like a light source, as well as actually having one on top of that. Doing this just provides more visual feedback to the player so that they know the letter they typed was correct instantly.

Dev Log #8

This week I worked on the assignment and made a start to it. I decided to make the camera orthographic and aiming at an angle, since it looks better than a perspective camera in this case. I also got the idea of doing that from the production assignment i'm currently working on, in which we have the same camera set up.

The player can't move and needs to kill a certain amount of enemies before moving onto the next area. In total there are going to be 4 areas with probably a boss battle at the end.

In the above image you can see the enemies with the text boxes above their head. For the assignment we needed a lot of visual and audible feedback. So when a player inputs a letter, it checks all the current enemies to see if their first letter is the one pressed. If so, then that word becomes the current word. The text box gets a green highlight and that UI element renders in front of everything else so that it is in full view and that the player can easily see it.

The text that the player hasn't typed is grey, typed is green and current letter is white. When an enemy dies the screen shakes. This is also the same screen shake effect from the previous assignment.

//Called if this is the current word and a letter is inputted.
    public void UpdateWord ()
    {
        string fullWord = wordToType.word;
        string progress = wordToType.curTyped;

        if(fullWord.Length == progress.Length)
        {
            wordText.text = "<color=lime>" + fullWord + "</color>";
        }
        else
        {
            string green = progress.Substring(0, progress.Length);
            string curLetter = fullWord.ToCharArray()[progress.Length].ToString();
            string end = fullWord.Replace(progress, "");
            end = end.Substring(1, end.Length - 1);

            wordText.text = "<color=lime>" + green + "</color><color=white>" + curLetter + "</color>" + end;
        }

        //Increase size of word box.
        transform.localScale += new Vector3(0.02f, 0.02f, 0.02f);
    }

Each UI word object has the above script. The function is called when the OnLetterInput event is called. It updates the word's text to display what was mentioned above. There is a lot of cutting up and trimming of strings to create a final line of text. Also as a bonus for feedback, the word box increases in size with each letter input.

If the inputted letter is not the correct one corresponding to the current word then the text will flash red, with the same code as the enemy flash in the previous assignment.

The above code took me a bit to get working correctly. When I first wrote it, my understanding of Substring was totally backwards. I though it cut out that part of the string rather than cut out the other part. Sounds weird, but just think of Substring backwards. When I understood it though, the code ran pretty much perfectly. 

Another thing that I think should be mentioned, is how are the words selected. Well, I have 2 text files with 300 words each. One for easy words and the other for medium words.

//Loads the 2 easy and medium word files and puts them into lists.
    void LoadWords ()
    {
        string[] easy = easyWordsFile.text.Split("\n"[0]);
        string[] medium = mediumWordsFile.text.Split("\n"[0]);

        for(int x = 0; x < easy.Length; x++)
        {
            string e = easy[x].Replace("\r", "").Replace("\t", "");
            easyWords.Add(e);
        }

        for(int x = 0; x < medium.Length; x++)
        {
            string m = medium[x].Replace("\r", "").Replace("\t", "");
            mediumWords.Add(m);
        }
    }

The above code loads in the words from the text files. It first gets the string value of each file and then splits it into a string array every new line.

Then, it just loops through those arrays, filters out any hidden characters and adds them to their corresponding lists.

Selecting words is just as easy. When the game wants a new word it send over a list of existing words that are currently on the screen. The script filters out all words beginning with those existing letters and sends back a random word to be used.

Dev Log #7

This week in class we went over events. I found them really interesting in the way that they can be created and just added to without that much extra code. 

41966-unityeventoverride.png

In the inspector, the events have their own UI which allows the user to add listeners. It makes it much easier to add listeners than it is to add them in code.

With this we also got our second assignment. We need to create a typing based game which use events, states and NavMesh movement. We were shown examples in class and I think I will go for an enemy wave typer game. Enemies will come at the player and they need to type words in order to kill them.

On the topic on NavMesh, I found them quite complex yet also quite simple. You're able to set up areas with different costs, so that having a path going through it might be more or less desirable. An example would be if there were 2 paths to a target. One over a bridge and another through water. The cost of going over the bridge would be much less than going through the water, so the agent would most of the time go over the bridge. If it was blocked by something though, the agent would go through the water.

Capture.PNG

The image above shows the agent options for the navmesh. The Agent Radius is the thickness of the agent character. From what I could see, this is also the distance that the navmesh edges will be from the obstacles. I don't really like this and believe that the distance should be a separate option. Because what this does is that is makes the agents hug the walls when moving or turning corners. This looks bad and unrealistic so I set the agent radius to around 2 or 3 times the actual radius, so that there was a gap when turning corners. It makes it look more realistic.

One thing I really like though is the Max Slope and Step Height. You're able to choose the max angle of which an agent can walk up as well as the highest step they can take. The step height could be used for stair cases, yet that will probably make the agent jump, so having the staircase as a slope would be a better option. 

Dev Log #6

This dev log will be kind of a post mortem but more of a review for the assignment that I handed in last Friday.

Overall, the project went well. What I envisioned, mostly agreed with the final result. There were features though such as multiple weapons, different enemy types and more abilities that I did want to implement, yet the scope prohibited that. This is probably due to time constraints and the fact that I wan't always on top of the project. Lacking behind and working on it in bursts, rather than gradually over the assignment time probably lead to this dilemma. In terms of problems with the implemented features, there were a few.

The first problem would be the camera. It has a simple 3D orbit around the player, yet if you look up too high or down too low, it can glitch it out and cause the camera to snap there. This is most likely due to my modifying the euler angles of the camera parent directly, rather using a quaternion function. The snapping into place is due to me clamping the camera rotation. I clamped it so that the camera can't rotate around a full 360 degrees vertically, yet that seemed to cause this problem. I know know that it's due to just adding to euler angles and messing up with the rotation numbers. Further research and learning into that area would help in future projects with a 3rd person camera.

Another problem that I mentioned in an earlier dev log is the shooting. Shooting a physical projectile in a 3rd person game is a hard thing to do as the projectile cannot move in a straight direction without being misaligned with the crosshair. It shoots a raycast from the camera and if it hits something, the projectile moves towards that point. But what if the player shoots into the sky? For this, I just made the projectile move in a general direction towards the crosshair. It looks ugly but hopefully the player won't be shooting in the sky anytime soon. For this reason I was not happy with the shooting and still believe that there is a better solution to the problem. There is raycasting and damaging the enemy instantly on contact, yet that wasn't really how I wanted to go about with this project. Mostly all other 3rd person games that have guns use raycasting, so maybe I should follow them and use that for future projects.

Dev Log #5

This is the last week for working on the assignment and the game is pretty much complete.

These 2 images are levels 2 and 3. They both have their distinct characteristics, with the caves being closed in, dark/blue and the desert being open and bright/orange. The emission lighting can be seen in the caves again, this time blue to emphasise the deepness/darkness of the level. Also now all the levels have certain obstacles which can only be completed with the correct ability.

The Jetpack can be found in the first level and is needed to get to areas in that level. In the second level (the caves), the shrink ability is found and needs to be used to get out. Finally in the desert level, both of those abilities need to be used to get to the end and to complete the game. 

In the desert level you can see that there are cactus'. These damage the player when they touch them with a simple OnCollisionEnter. At the back you can also see a bright orange glow which is lava. This lava damages the player overtime if they are in it with a similar script to that of the poison gas.

Capture.PNG

The UI is quite simplistic yet displays quite a bit. At the top the player's health can be seen both in a number form and in a health bar form. Originally, I was hoping to add in multiple weapons, so that is why there is the pistol in the circle to the left. On the bottom right though are 2 icons. One for the jetpack and one for the shrink ability. These are either enabled or disabled depending on whether or not the player has that ability.

The health bar also moves down gradually when they are damaged, rather than just snapping to a value. This is done with this code:

//Smoothly lowers the player's health bar.
    IEnumerator HealthDown ()
    {
        Player p = Game.game.player;

        while(healthBar.value > p.curHp){
            healthBar.value = Mathf.MoveTowards(healthBar.value, p.curHp, 20 * Time.deltaTime);
            yield return null;
        }
    }

A simple while loop with Mathf.MoveTowards is all that is needed to create this effect and it greatly improves the look of the game. 

Once the player completes the game, the above screen is displayed. It allows the player to enter in their name and submit their score. If the score is in the top 10, then it will be saved to a Json file, so that it can be loaded up again and displayed on the main menu.

The serialisation and deserialisation is done using this code. I was also contemplating on whether or not to use Json or XML. From what I could see, they are both generally the same and work in the same way. Although I chose Json, since it is what we learned in class and there is generally more documentation on the topic. Although in this post it can be seen that Json is more compact and more flexible. XML does have some benefits, yet for a small game such as this one, Json works just fine.

Dev Log #4

This week I started working on the actual levels and details on my assignment. My plan is to create 3 levels. The first will be a green mountain level, the second a cave level and the third will be in the desert.

The image above is of the first level, mountains. One thing that I discovered that you can see in the image are the lamp posts. They are just a sphere on top of a cylinder with a light, yet the sphere is different. It has a material which emits light, independent of it's surroundings. This is why it actually looks like the lamp is emitting light.

I also worked more on the enemies. First, they only follow the player around if they can see them. This is done by shooting a raycast towards the player and if it doesn't intercept a wall, then the enemy can see them. This is so that enemies don't try to walk through walls and only engage with the player if they can see them.

I also implemented more "game feel" to provide the player with more visual feedback. The first thing was damage flashing. When the enemy or player gets damaged, their material flashed red for a few frames to show that they have been damaged.

    public MeshRenderer rend;   

    //Called when damaged. Flashes enemy red quickly.
    IEnumerator DamageFlash ()
    {
        rend.material.color = Color.red;
        yield return new WaitForSeconds(0.03f);
        rend.material.color = Color.white;
    }

As you can see, it's a very basic block of code. It's simple but works effectively. 

Another thing I implemented was camera shake. When the player get's hit, kills an enemy or uses their jetpack the screen will shake to show that it is indeed happening.

//Shakes the camera for a duration by an amount and intensity.
    IEnumerator ShakeCam (float duration, float amount, float intensity)
    {
        Vector3 targetPos = Random.onUnitSphere * amount;

        while(duration >= 0.0f)
        {
            if(Vector3.Distance(cam.transform.localPosition, targetPos) < 0.05f){
                targetPos = Random.onUnitSphere * amount;
            }

            cam.transform.localPosition = Vector3.Lerp(cam.transform.localPosition, targetPos, intensity * Time.deltaTime);

            duration -= Time.deltaTime;
            yield return null;
        }

        cam.transform.localPosition = Vector3.zero;
    }

The camera shake code takes in 3 variables. A duration, amount and intensity. The way it works, is that it first finds a target position. This is done by using Random.onUnitSphere multiplied by the amount. It will find a random unit in a spherical area. Then, it moves the camera to that position at the speed of the intensity and when it arrives at that position, a new target pos is found. 

The image above shows the poison gas, which damages the player if they're inside it. The script emits the particles for a certain amount of time in certain intervals to give the player enough time to cross. In this case, the gas emits for 3 seconds with 2 second intervals. If the player is inside the trigger of the gas while it's emitting, they will be damaged 5 hp every half a second.

Dev Log #3

This week we were assigned our first assignment. We had to create a simple 3D game with 3 levels, pickups and triggers. I went for a 3rd person shooter game. During this first week, I got the 3rd person camera done, as well as the player controller, 2 abilities and basic enemy.

Capture.PNG

For the 3rd person camera script, I first got the mouse x and mouse y inputs and put them into a vector3. Then that rotation was applied to the camera parent's euler angles. This creates a rotating camera, yet looking too far up or down glitches it out.

To the right of the image are the 2 abilities. One is a jetpack and the other is a shrink ability. In the levels the player will need to use these to get past obstacles. When on the ground, these abilities have a particle effect, purple light and bobbing effect. This effect makes the ability go up and down as well as rotate. This makes it easier for the player to see.

//Do we bob up?
        if(bobUp){
            transform.position = Vector3.MoveTowards(transform.position, bobToPos, bobSpeed * Time.deltaTime);

            //Are we close to the peak?
            if(Vector3.Distance(transform.position, bobToPos) <= 0.1f){
                bobUp = false;
            }
        }else{
            transform.position = Vector3.MoveTowards(transform.position, defaultPos, bobSpeed * Time.deltaTime);

            //Are we close to the bottom?
            if(Vector3.Distance(transform.position, defaultPos) <= 0.1f){
                bobUp = true;
            }
        }

        //Rotating the object.
        transform.Rotate(Vector3.up * rotateSpeed * Time.deltaTime);

This is the code for the Bob.cs script and it's quite simple. It moves the object up and down around one unit in distance and rotates it at a certain speed. Instead of a static object sitting there, this bobbing object attracts the eyes of the player and makes the game look even better.

Also in the image, but not seen is shooting the enemy. The player can shoot spherical projectiles, but a problem that I occured is where do they shoot towards? Obviously ahead of the player, but since it's a 3rd person camera where does the player aim? Aiming with the crosshair is a problem since the projectile is shooting at an angle towards the crosshair and only crosses it at a single point. 

So what I decided to do was have the crosshair shoot a raycast and if it hit an enemy, just have the projectile fire towards the enemy. If it wasn't an enemy, then the projectile would move in that general direction. Most 3rd person games don't need to worry about this since they shoot with raycasts only, yet with this project I was using physical objects.

//Calculating the direction the projectile will travel.
        if(Physics.Raycast(Camera.main.ScreenPointToRay(new Vector3(Screen.width / 2, Screen.height / 2, 0)), out hit, 100)){
            hitPos = hit.point;
        }

        Vector3 dir = Vector3.zero;
        
        if(hitPos == Vector3.zero){
            Vector3 camDir = (transform.position - Camera.main.transform.position).normalized;
            dir = new Vector3(camDir.x - 0.3f, camDir.y + 0.45f, camDir.z);
        }else{
            dir = (hitPos - transform.position).normalized;
        }

This is the code and it does what I mentioned before. I wouldn't say this is the best method since it's really hacky and doesn't even look that good. Although for what I need it for, it will do.

Dev Log #2

This week in class we were tasked to create a small ragdoll game. Me and my teammate just decided to create a simple tool which would allow you to hit the ragdoll with an amount of force. It was quite basic but fit the criteria for the class.

The "game" had 2 different values you could change. Gravity and Physics Tick Time. Changing them did a few things but overall not a lot. This small project was just to mess around with ragdolls.

One thing that was pretty cool, was the camera script. The camera is able to zoom in and out as well as orbit around the ragdoll.

void Zoom ()
    {
        cameraDist += Input.GetAxis("Mouse ScrollWheel") * -zoomSpeed;
        cameraDist = Mathf.Clamp(cameraDist, minZoom, maxZoom);

        Camera.main.transform.localPosition = Camera.main.transform.localPosition.normalized * cameraDist;
    }

The above code shows the zoom function. It's pretty simple, as it gets the axis of the scroll wheel which is between -1 and 1, which can then be scaled to change the camera's local position. 

void Orbit ()
    {
        if(Input.GetMouseButtonDown(1)){
            mousePosLastFrame = Input.mousePosition;
        }
        
        if(Input.GetMouseButton(1)){
            Vector3 mouseDir = Input.mousePosition - mousePosLastFrame;

            transform.eulerAngles += new Vector3(mouseDir.y, mouseDir.x, 0) * sensitivity * Time.deltaTime;

            mousePosLastFrame = Input.mousePosition;
        }
    }

The orbit function is a bit more complex. When the player holds down the right mouse button, they can move the mouse to orbit the camera around the ragdoll.

It does this by knowing both the mouse position of the current frame and the last frame. From this, it can find a direction and then apply that direction to the camera's euler angles.

Dev Log #1

This week, I mainly worked on improving my uni game jam project, Toxic Townsmen. If you haven’t seen it already, it’s a 2D wave shooter set in medieval times. It has 9 waves of enemies and a boss at the end. This past week I just spent a bit of time tweaking values and changing some features. When I originally posted the game, I made a mistake and forgot to change the player’s attack rate from 0, to 0.2 (from testing the game). So when people were testing it, the game felt easy as the player could fire as much as they wanted to. Fixing this was easy, and along with this fix, I also added another wave and made the boss harder.

Why? Because when I saw people playing the game, even though there was the firing bug, they all beat the boss on their first play-through. My intentions for the game was to make it difficult to defeat the boss. The player should lose around 1/3 of their health by the time they reach him on a good play-through, and then have a hard time defeating him. So I increased his health, made him do a quick-fire special attack when his health gets low and increase fire rate as well.

The mage enemy also had a few changes. Their homing orbs were made slower, so that they travel slightly slower than the player, rather than the same speed. This makes it so that the player can avoid them, yet have them still being an annoyance.

Also in the week, I helped my team member create our ragdoll physics game for week 2’s game jam. I worked on making the camera easier to use by implementing a zoom feature and the ability to orbit the camera around the ragdoll.

The zoom feature was created using the code below. Scrolling the mouse wheel either adds or subtracts the cameraDist variable, which is clamped to a min and max zoom. This variable is then used to calculate the camera’s position and distance from the target.

void Zoom ()
{
cameraDist += Input.GetAxis("Mouse ScrollWheel") * -zoomSpeed; cameraDist = Mathf.Clamp(cameraDist, minZoom, maxZoom);
Camera.main.transform.localPosition = Camera.main.transform.localPosition.normalized * cameraDist;
}

For the camera orbiting, I got the direction of the mouse movement and converted that to movement in the camera’s parent rotation. For this to work though, the camera needs to be a child of an empty game object that is at the position of the target you want to follow.

void Orbit ()
{
if(Input.GetMouseButtonDown(1)){
mousePosLastFrame = Input.mousePosition;
}

if(Input.GetMouseButton(1)){
Vector3 mouseDir = Input.mousePosition - mousePosLastFrame;
transform.eulerAngles += new Vector3(mouseDir.y, mouseDir.x, 0) * sensitivity * Time.deltaTime;
mousePosLastFrame = Input.mousePosition;
}
}